


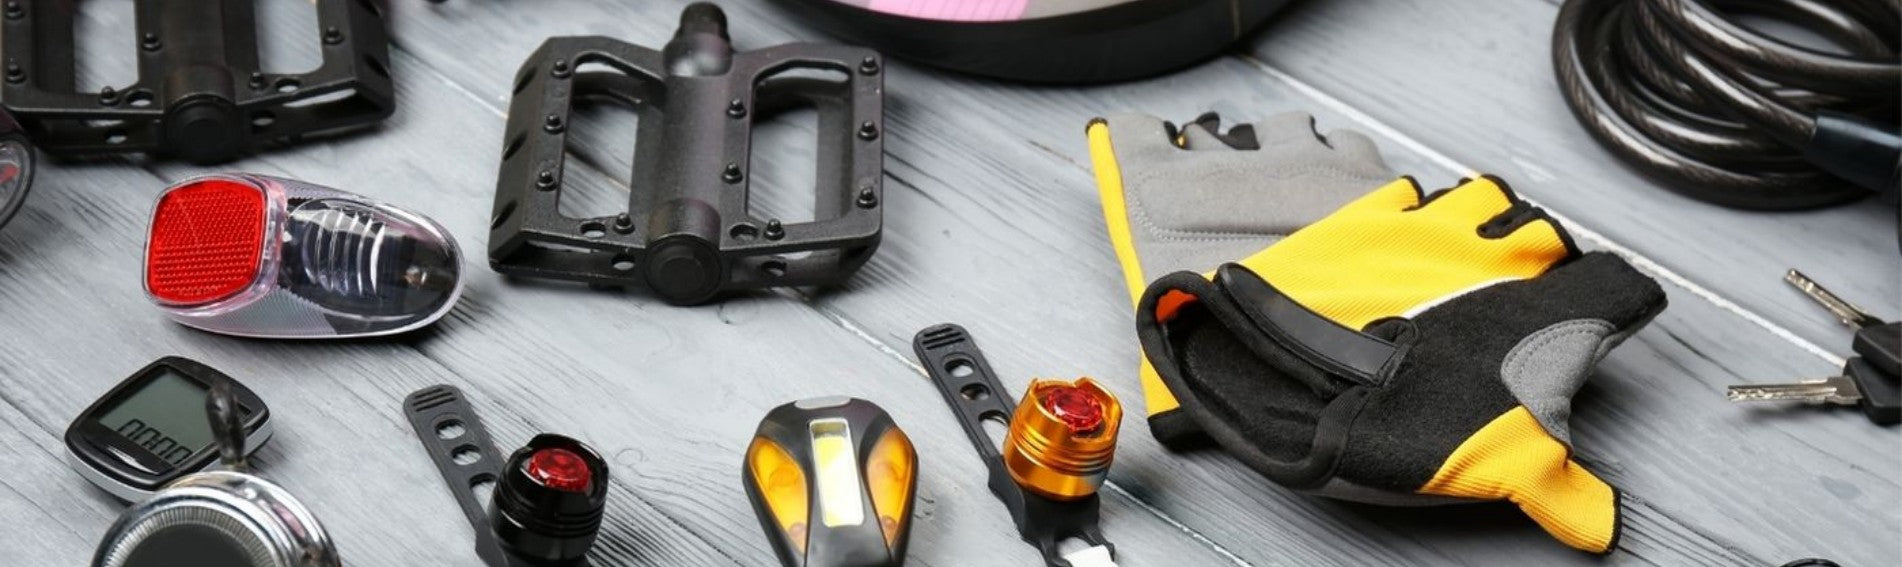

How to Wrap Handlebar Tape Properly?
Wrapping handlebar tape might seem daunting, but with the right technique, you can achieve a professional finish. This guide will walk you through the process, ensuring your handlebars look great and feel comfortable.

Why Wrap Handlebar Tape?
Handlebar tape provides grip, comfort, and a touch of style to your bike. Over time, tape can wear out, making it essential to know how to replace it properly.
What You'll Need
• Handlebar tape
• Scissors
• Electrical tape
• Bar end plugs

Step-by-Step Instructions
1.Prepare Your Handlebars
• Remove the old tape and clean the handlebars thoroughly.
1.Prepare Your Handlebars
• Remove the old tape and clean the handlebars thoroughly.
Ensure the brake and gear cables are securely fastened.
1.Start at the Bar Ends
• Begin wrapping from the bottom of the handlebars.
1.Start at the Bar Ends
• Begin wrapping from the bottom of the handlebars.
Leave a small overhang to tuck into the bar end later.
1.Wrap Consistently
• Wrap the tape in a clockwise direction on the right handlebar and counter-clockwise on the left.
1.Wrap Consistently
• Wrap the tape in a clockwise direction on the right handlebar and counter-clockwise on the left.
Overlap each wrap by about one-third of the tape's width.
1.Navigate the Shifters
• When you reach the shifters, make a figure-eight pattern to cover the base properly.
1.Navigate the Shifters
• When you reach the shifters, make a figure-eight pattern to cover the base properly.
Continue wrapping up the handlebars.
1.Secure the Tape
• Once you reach the top, cut the tape at an angle for a clean finish.
1.Secure the Tape
• Once you reach the top, cut the tape at an angle for a clean finish.
Use electrical tape to secure the end of the handlebar tape.
1.Insert Bar End Plugs
• Tuck the overhanging tape into the bar ends and insert the bar end plugs.
1.Insert Bar End Plugs
• Tuck the overhanging tape into the bar ends and insert the bar end plugs.

Tips for a Perfect Wrap
• Tension: Keep the tape tight but not overly stretched to avoid tearing.
• Consistency: Ensure even overlap to prevent gaps.
• Direction: Wrap towards the frame to ensure the tape tightens as you grip it.
• Tension: Keep the tape tight but not overly stretched to avoid tearing.
• Consistency: Ensure even overlap to prevent gaps.
• Direction: Wrap towards the frame to ensure the tape tightens as you grip it.

Conclusion
Properly wrapped handlebar tape enhances your riding experience by providing better grip and comfort. Follow these steps, and you'll have handlebars that look and feel great.
Properly wrapped handlebar tape enhances your riding experience by providing better grip and comfort. Follow these steps, and you'll have handlebars that look and feel great.


